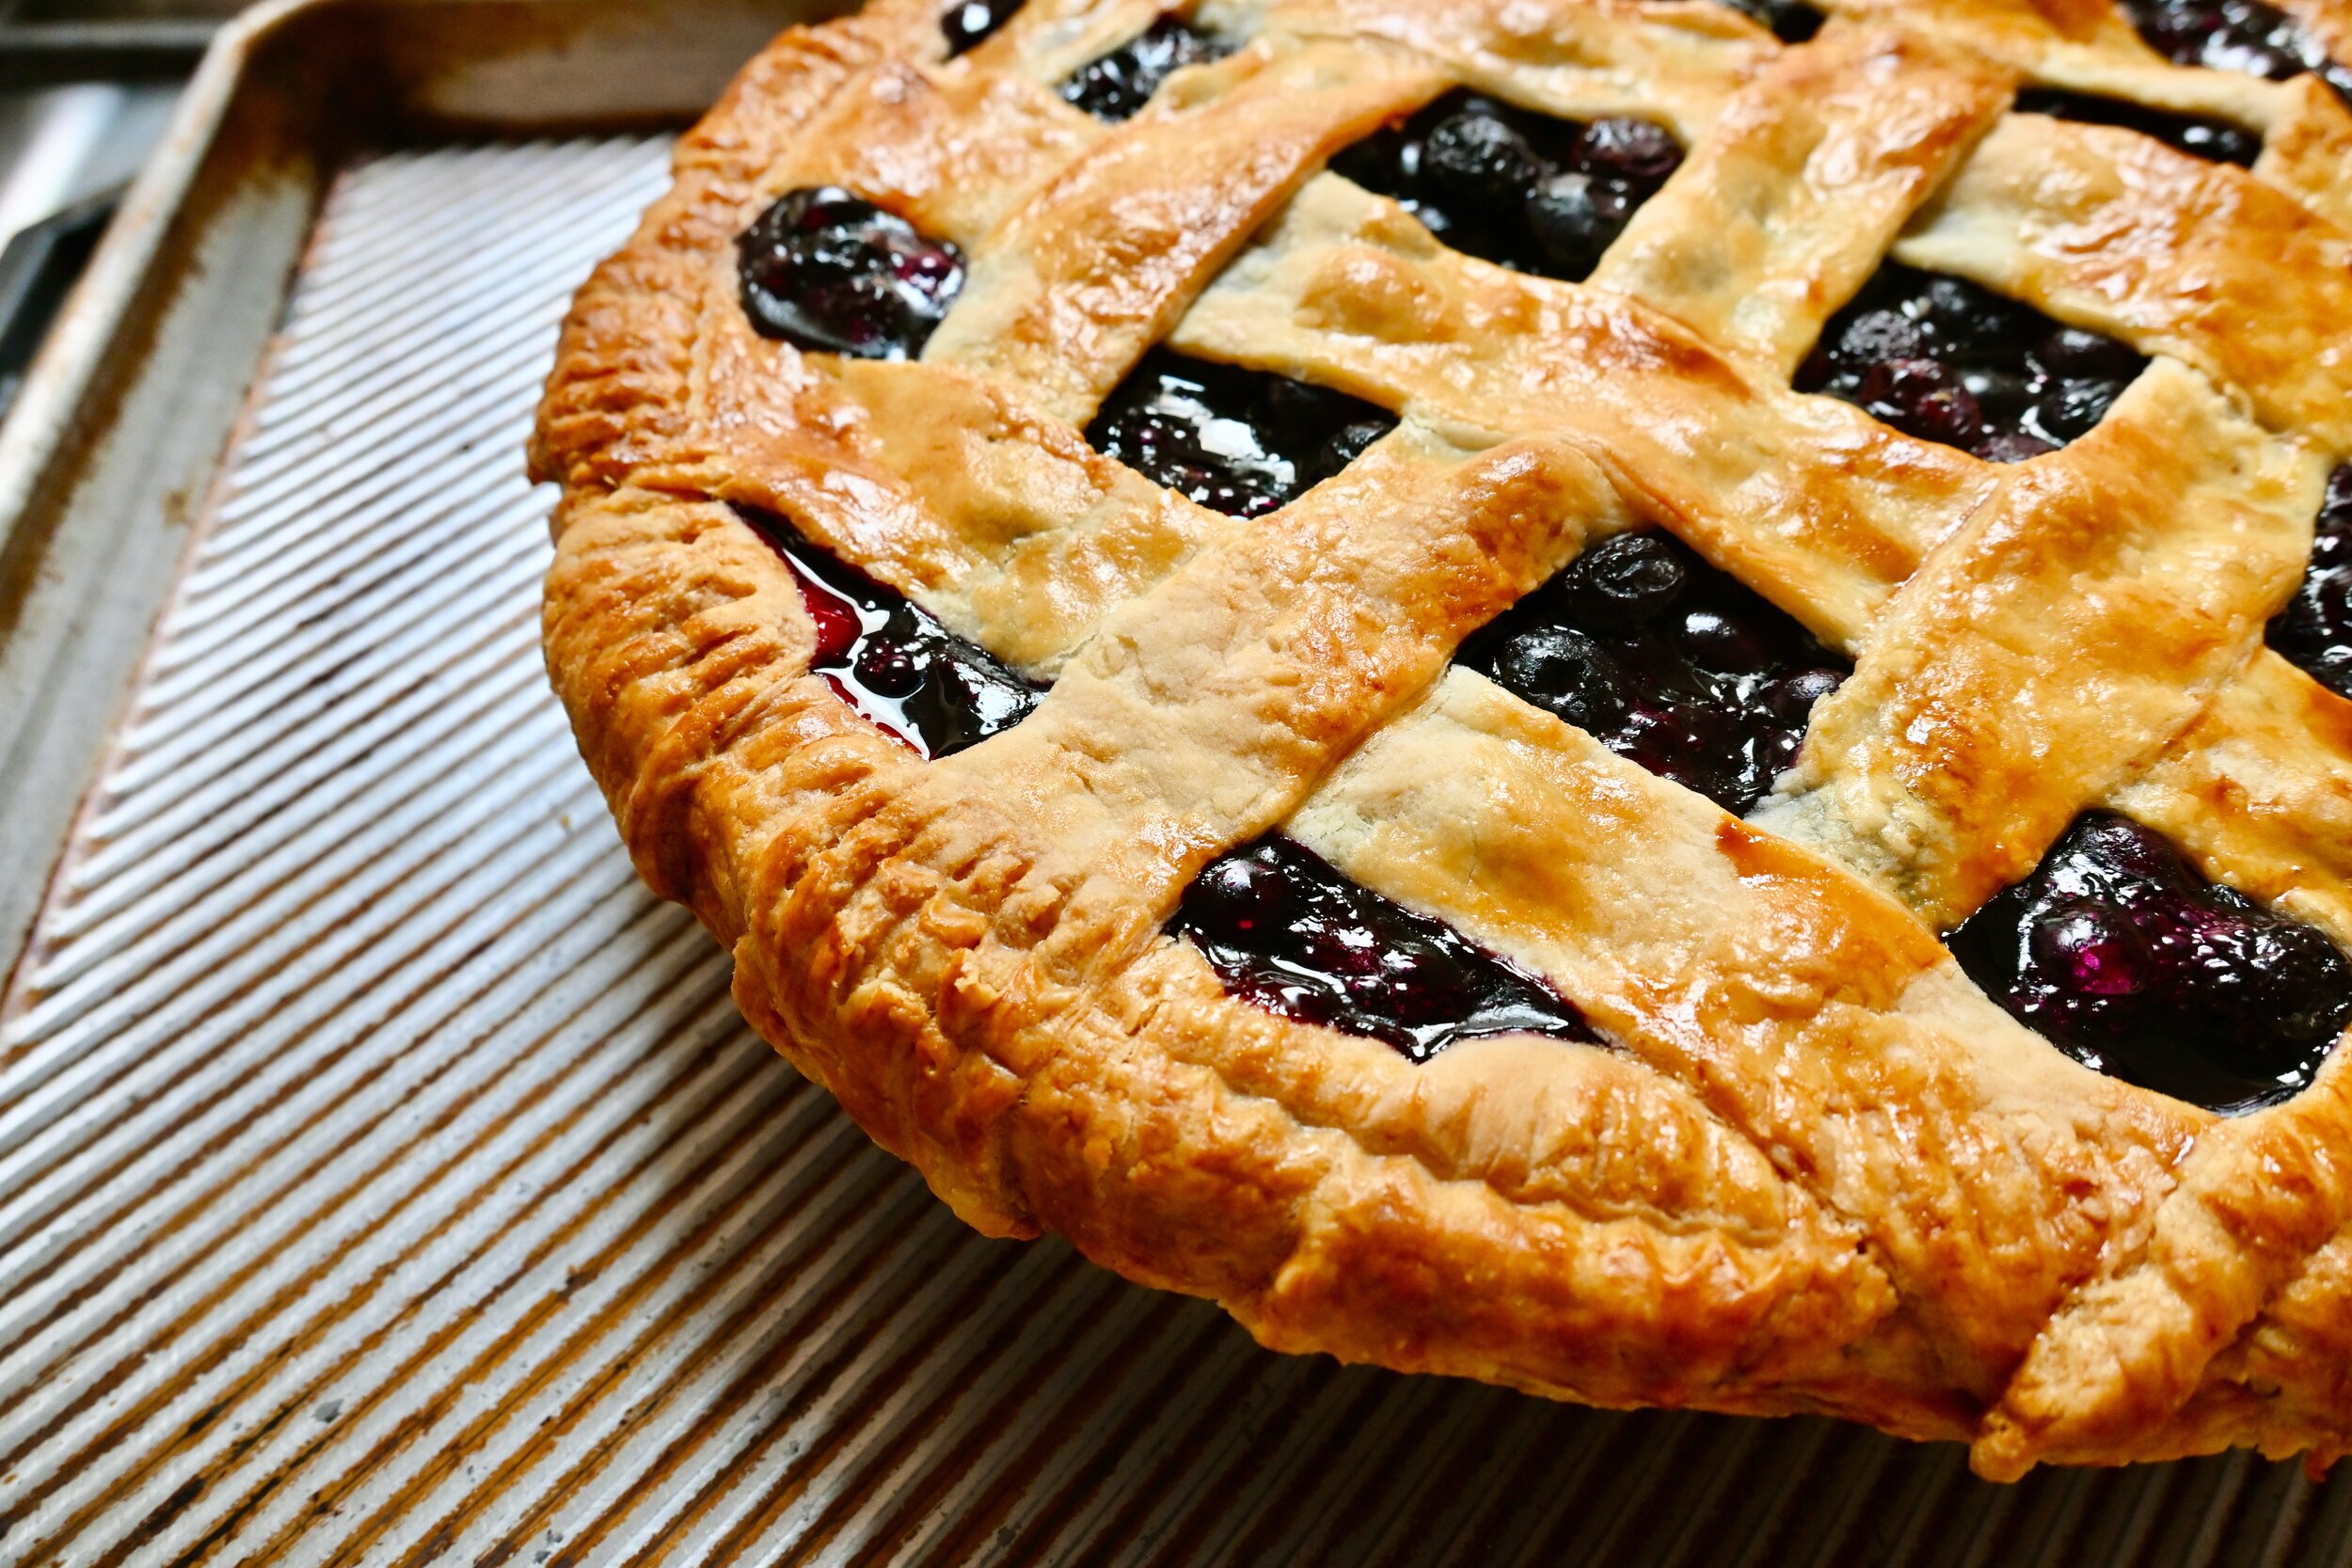
Blueberry Pie

I love pies 🥧. And now I can make perfectly light and flaky pie crusts, I’ve been making pies a lot - probably more than John wants. 😜I wrote these pie making tips that I’ve learned over the years in my peach pie recipe already, but I will repeat again…
Use instant tapioca (or tapioca flour/starch) for thickener. Your pie will have sliceable consistency.
Lightly spray the pie dish with a cooking spray. This makes it easier to take out the first slice of pie from your pie dish. It was like magic! Wish I knew 20 years ago!
Add filling all the way to the top of the pie dish. This will avoid your crust to slide down from the rim. If you don’t, part of the crust might slide down a bit when you use butter crust.
Cool for 3~4 hours before cutting to allow filling to set. If the pie is even slightly warm, the filling will be runny. Be patient!
This recipe is adapted from pretty kitchen, Joy food sunshine and Sally’s baking addiction.
Serve 12
Ingredients
7C fresh blueberries, rinsed and well drained (I prefer fresh, but frozen is OK. If you use frozen blueberries, do not thaw.
3/4~1C sugar
1 lemon zest (about 2 tsp)
1 tbsp lemon juice
1/4C instant tapioca (or 1/4C tapioca flour) for a thickener. For a double crust pie, add extra 1 heaping tbsp. You need more thickening for a double crust pie because the liquid won’t evaporate as much during the baking process.
1 egg + 1 tbsp milk for egg wash, well mixed
Instructions
In a large bowl, combine blueberries, lemon juice, zest, sugar, salt, and tapioca.


2. Roll out the first pie dough on a pastry mat and transfer to a pie dish. (make sure that the crust is about 3 inches bigger than your pie dish.) Trim the dough if the dough is hanging out too much. Tuck under overhang crust.
3. Add the blueberry filling into the pie shell and smooth the top. Keep it in the fridge while rolling out the 2nd dough.


3. Roll out the 2nd disc of the dough. Cut strips (about 1.5” wide) and carefully make lattice over the pie filling. Tuck the edges of the strips under the bottom pie crust edges. Crimp the edges with your fingers or a fork. Chill the pie in the fridge for 20~30 minutes before baking - optional. (Note: you can cover the top crust over the pie instead of making lattice too. Just make sure to cut slits in the top crust to allow steam to escape.)


4. Preheat oven to 425 degrees F. Cover the edges with foil or pie crust protector before baking in the oven. Put the pie pan on baking sheet and bake for 20 minutes. Lower the heat to 350 degrees F and bake 55~60 minutes, or until the crust is golden and the filling is bubbling - remove the protector about 30 minutes in. Remove from the oven and cool completely before serving.


Disclaimer Note: We're all about sharing here! But please credit recipes and photos if you choose to send these along. Thank you!